![]() Share on Facebook
Share on Facebook
![]() Share on Google+
Share on Google+
![]() Share on Twitter
Share on Twitter
![]() Share on LinkedIn
Share on LinkedIn
Raspberry Pi as a WiFi uplink point for cable switch
So.. to keep myself entertained and work a bit with technical things I haven't worked a lot with earlier, I dug out the old Raspberry Pi and figured I could use it as an uplink for a switch I recently bought.So basically I have
The internet -> Apartment router -> My WiFi Router -> Raspberry Pi with Wifi -> Switch -> Computer x,y,z
This enables me to setup computers with internet, by just plugging them into the switch with an Ethernet cable. The ISC DHCP server is running on the Raspberry Pi, and deals out the necessary bits to each computer so that it gets internet access.
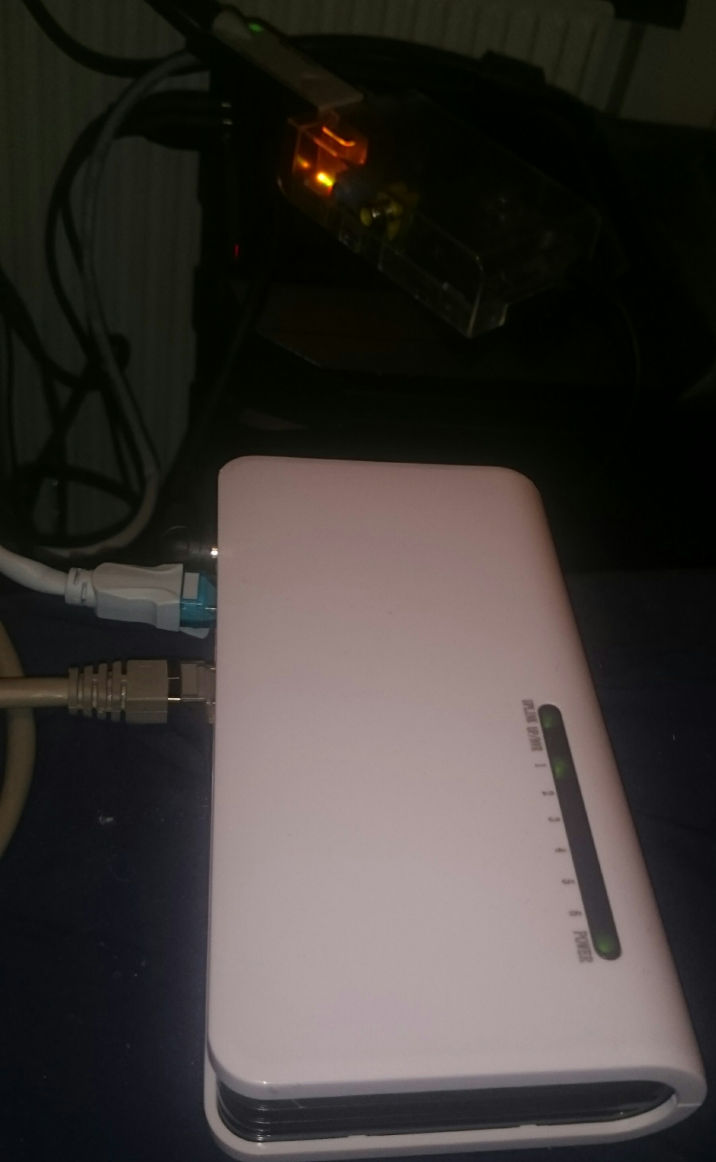
You can see the switch as well as the Pi on the following picture:
Now I thought the whole thing was a bit daunting and didn't know where to start, but some recipes on the net made things fairly easy, and I do know a bit about networking etc. from earlier on.
Now, the Raspberry Pi has a DHCP server running, which deals out IP addresses, gateway etc. to each computer that connects to the switch.
The DHCP server is configured basically like this and listens on the Raspberry Ethernet port, eth0:
option domain-name "blogologue.com";
option domain-name-servers 8.8.8.8;
default-lease-time 600;
max-lease-time 7200;
ddns-update-style none;
subnet 192.168.2.0 netmask 255.255.255.0 {
range 192.168.2.2 192.168.2.254;
option routers 192.168.2.1;
}
But the Pi also has to know how to send data to and from the computers that are hooked up to the switch, and here's a script that sets that up:
#!/bin/bash
echo 1 > /proc/sys/net/ipv4/ip_forward
iptables -t nat -A POSTROUTING -o wlan0 -j MASQUERADE
iptables -A FORWARD -i wlan0 -o eth0 -m state --state RELATED,ESTABLISHED -j ACCEPT
iptables -A FORWARD -i eth0 -o wlan0 -j ACCEPT
Using those two bits, and using the built-in WiFi configuration in raspi-config, I setup a network for easy internet access in a couple of hours.
[Permalink] [By morphex] [Technology (Atom feed)] [27 Dec 00:26 Europe/Oslo]